Every strike brings me closer to the next home run.
~Babe Ruth
The best way for me to come across tips for ScreenFlow is to delve into the program for a project. Invariably, something comes up that I don’t know the answer to, and thus a tip is born! This time, it has to do with boosting audio levels.
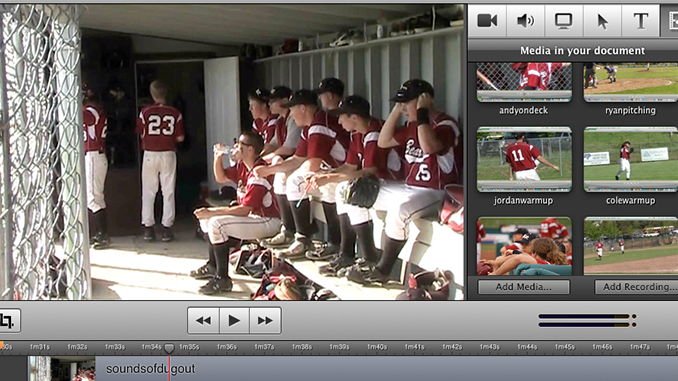
I recently used ScreenFlow to create and edit a 5-minute video for my son’s high school baseball team, which included video, pictures, music and some typical sayings that would remind them of their 2010 season.
During the video, I transition from background music to a segment filmed in the dugout, with the boys’ voices providing commentary. One of the challenges I had was that when I brought that section of the video into ScreenFlow, the level of sound that my little Canon camcorder provided was very low. I was able to boost the level up to 170% using the audio levels in ScreenFlow, but it still wasn’t quite as loud as I wanted it to be.
I promptly went to the ScreenFlow forum, and found a “trick” suggested by PCG (aka Prescott Computer Guy). He says, “My “trick” here is to copy and paste the audio track [again]… when “stacked” they have more volume.”
Voila! It worked. I detached my audio from my video, then I copied the audio track and pasted it just below the original audio track on the timeline. I lined them up perfectly, and when combined, the audio levels were much more acceptable.
 Of course, if your audio is bad, then by amplifying it, you’re only going to make it worse. So use this tip judiciously.
For my purposes though – a fun, non-professional video- it worked perfectly!
If anyone’s interested, I uploaded a version of the video that you can see here. I’m still working on some quality issues with the video – namely the dropped frames in the video clips, which I suspect have to do with the way I encoded the original .mod files before bringing them into ScreenFlow… perhaps that will provide fodder for the next ScreenGenius tip!